
The TRON Bike reimagined, featuring a DeWalt Drill
Our team of six set off to compete in a class competition of building a drill-powered bicycle-inspired vehicle with a budget of $200 for all supplies. We needed to design, manufacture, assemble, and pilot our creation in endurance, hill climb, and maneuverability challenges. We were allowed to use half of a donor bike and we opted to use the front fork, handlebars, and rear freewheel for our design, the rest was fully unique to our design. The bike was designed on SolidWorks, with engineering drawings being used for shop manufacturing. For manufacturing, all parts were machined by someone on the team including all welds. With a fresh coat of black and neon teal spray paint, the finished product was deemed the Tron Drill Bike. My team and I swept all competitions winning all events by a sizable margin in a 15 team competition.
The Design Process
-
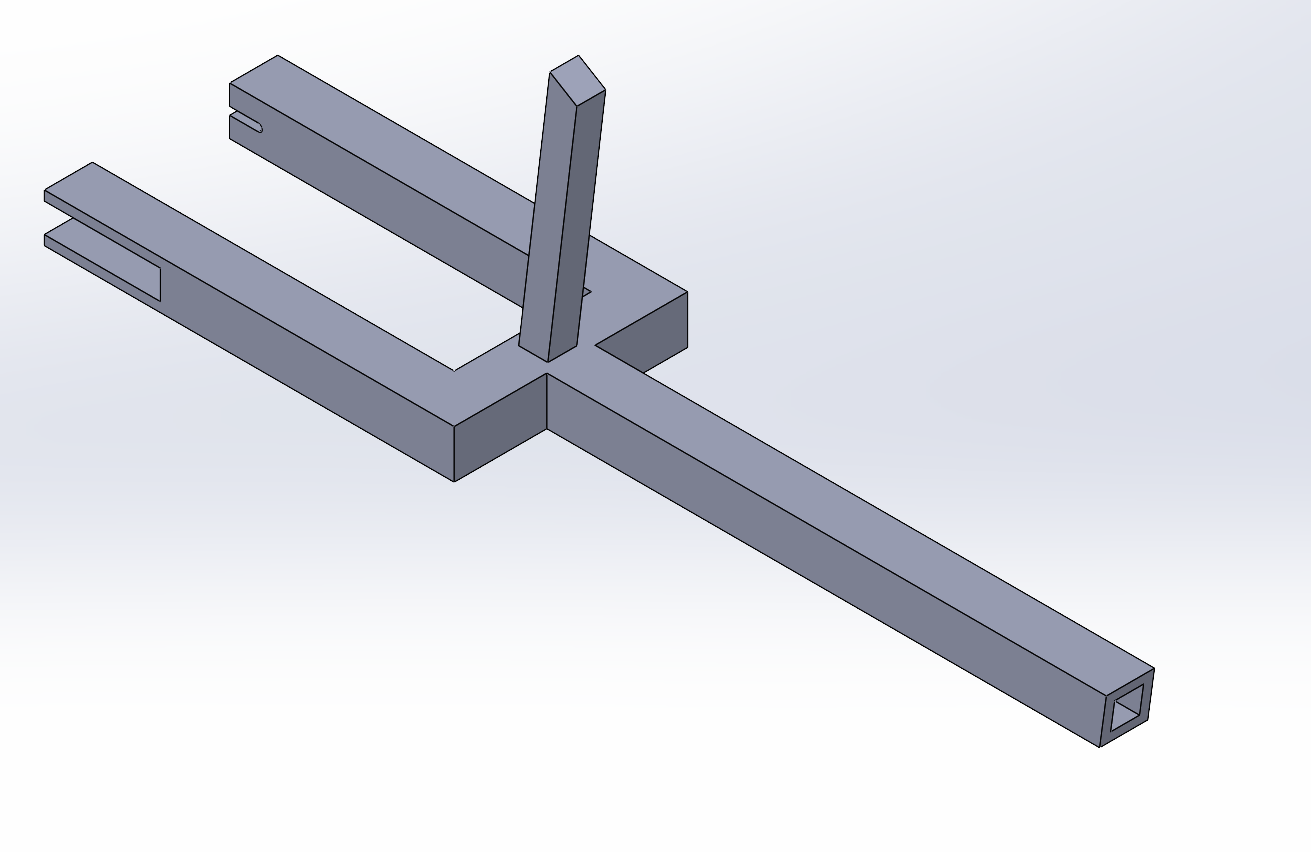
Bike Frame Mark 1
Our original bike frame was meant to be compact and as simple to manufacture as possible. We planned to use 1/8” thick square low carbon steel to make welding as easy as possible.
-
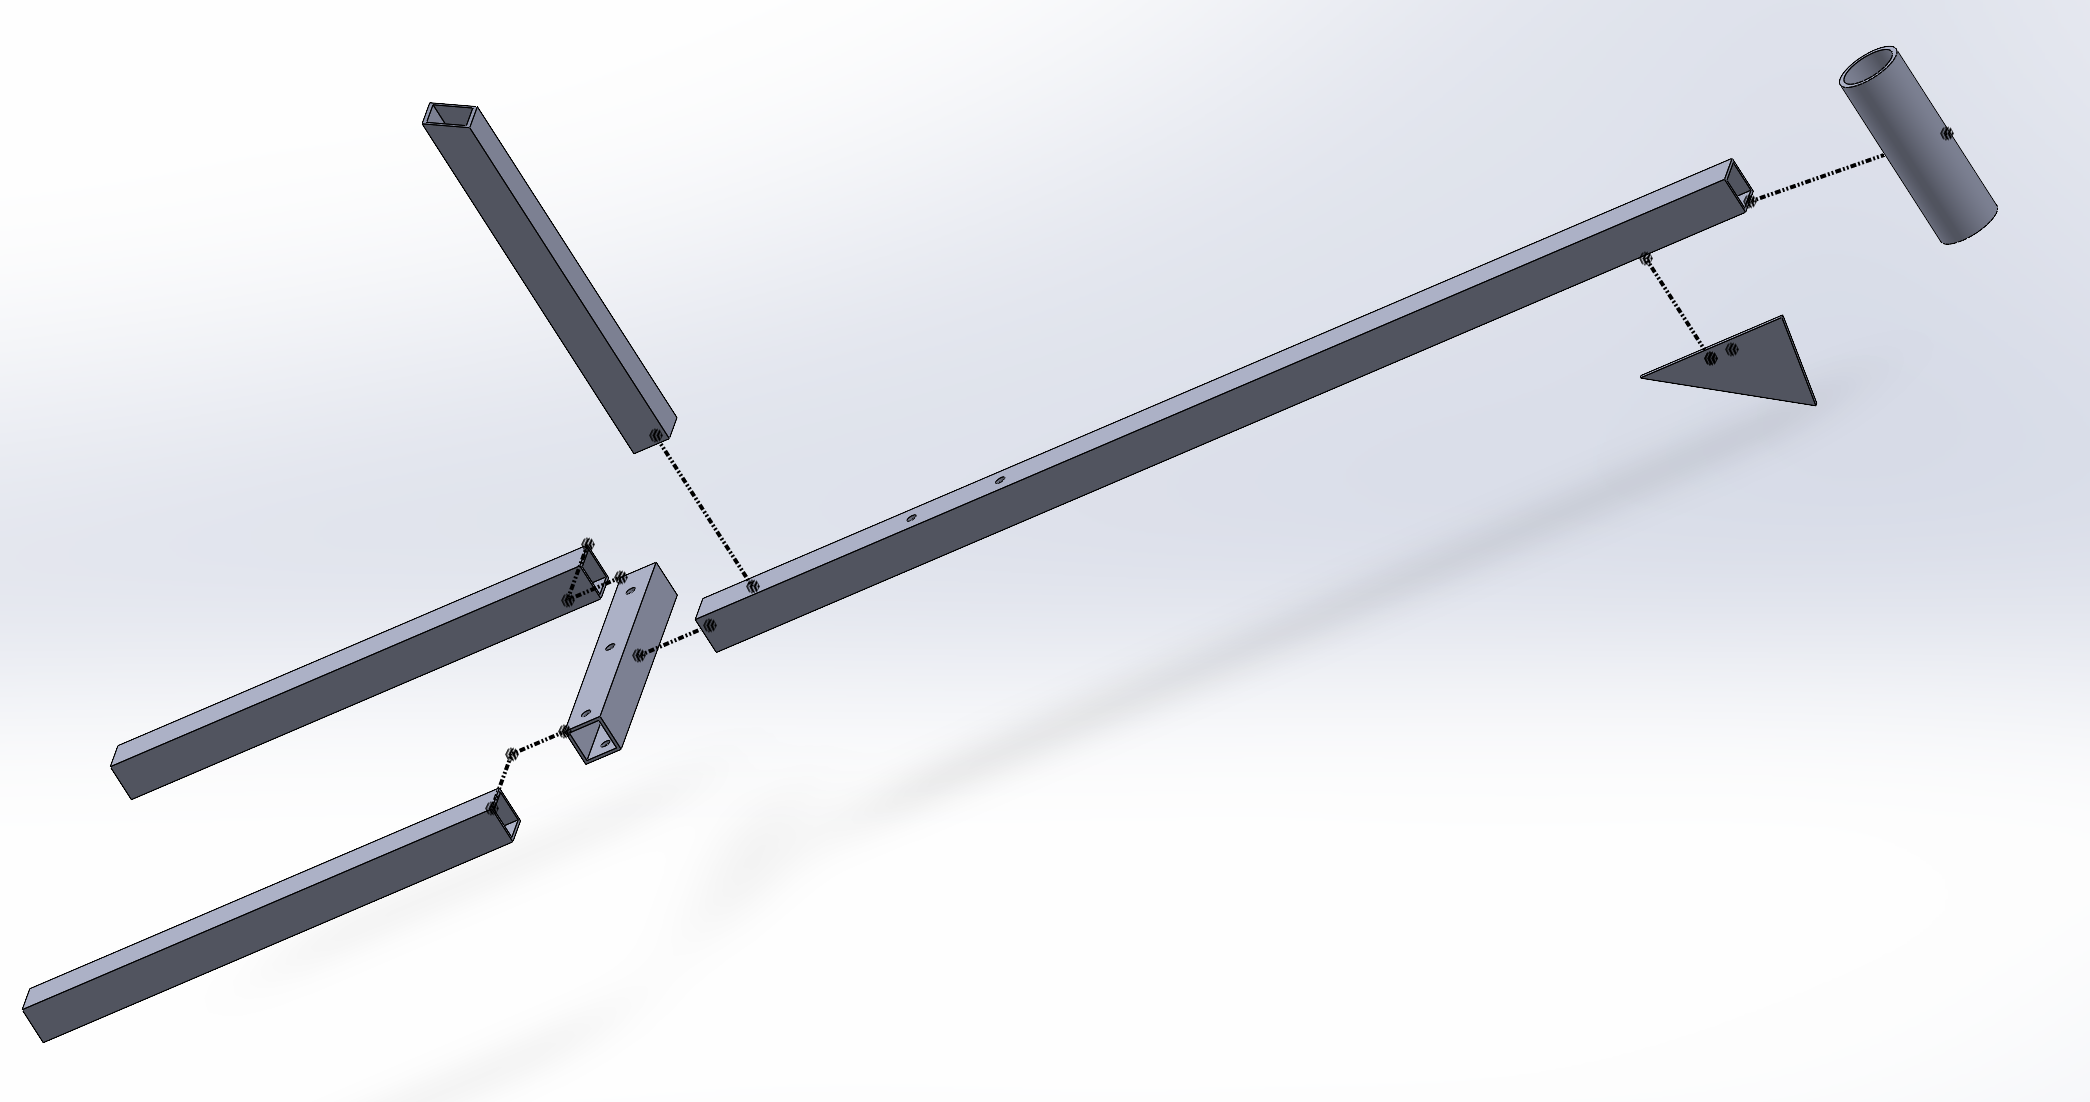
Bike Frame Mark II
With some guidance from our machine shop head, we changed our thickness to .083” inch thick low carbon steel. This massive weight reduction allowed us to elongate the frame to keep the rider position lower. We also changed our drop-out design to be simpler. By making it a separate piece of sheet metal we could keep the thickness at 1/8” thick to avoid deflection.
-
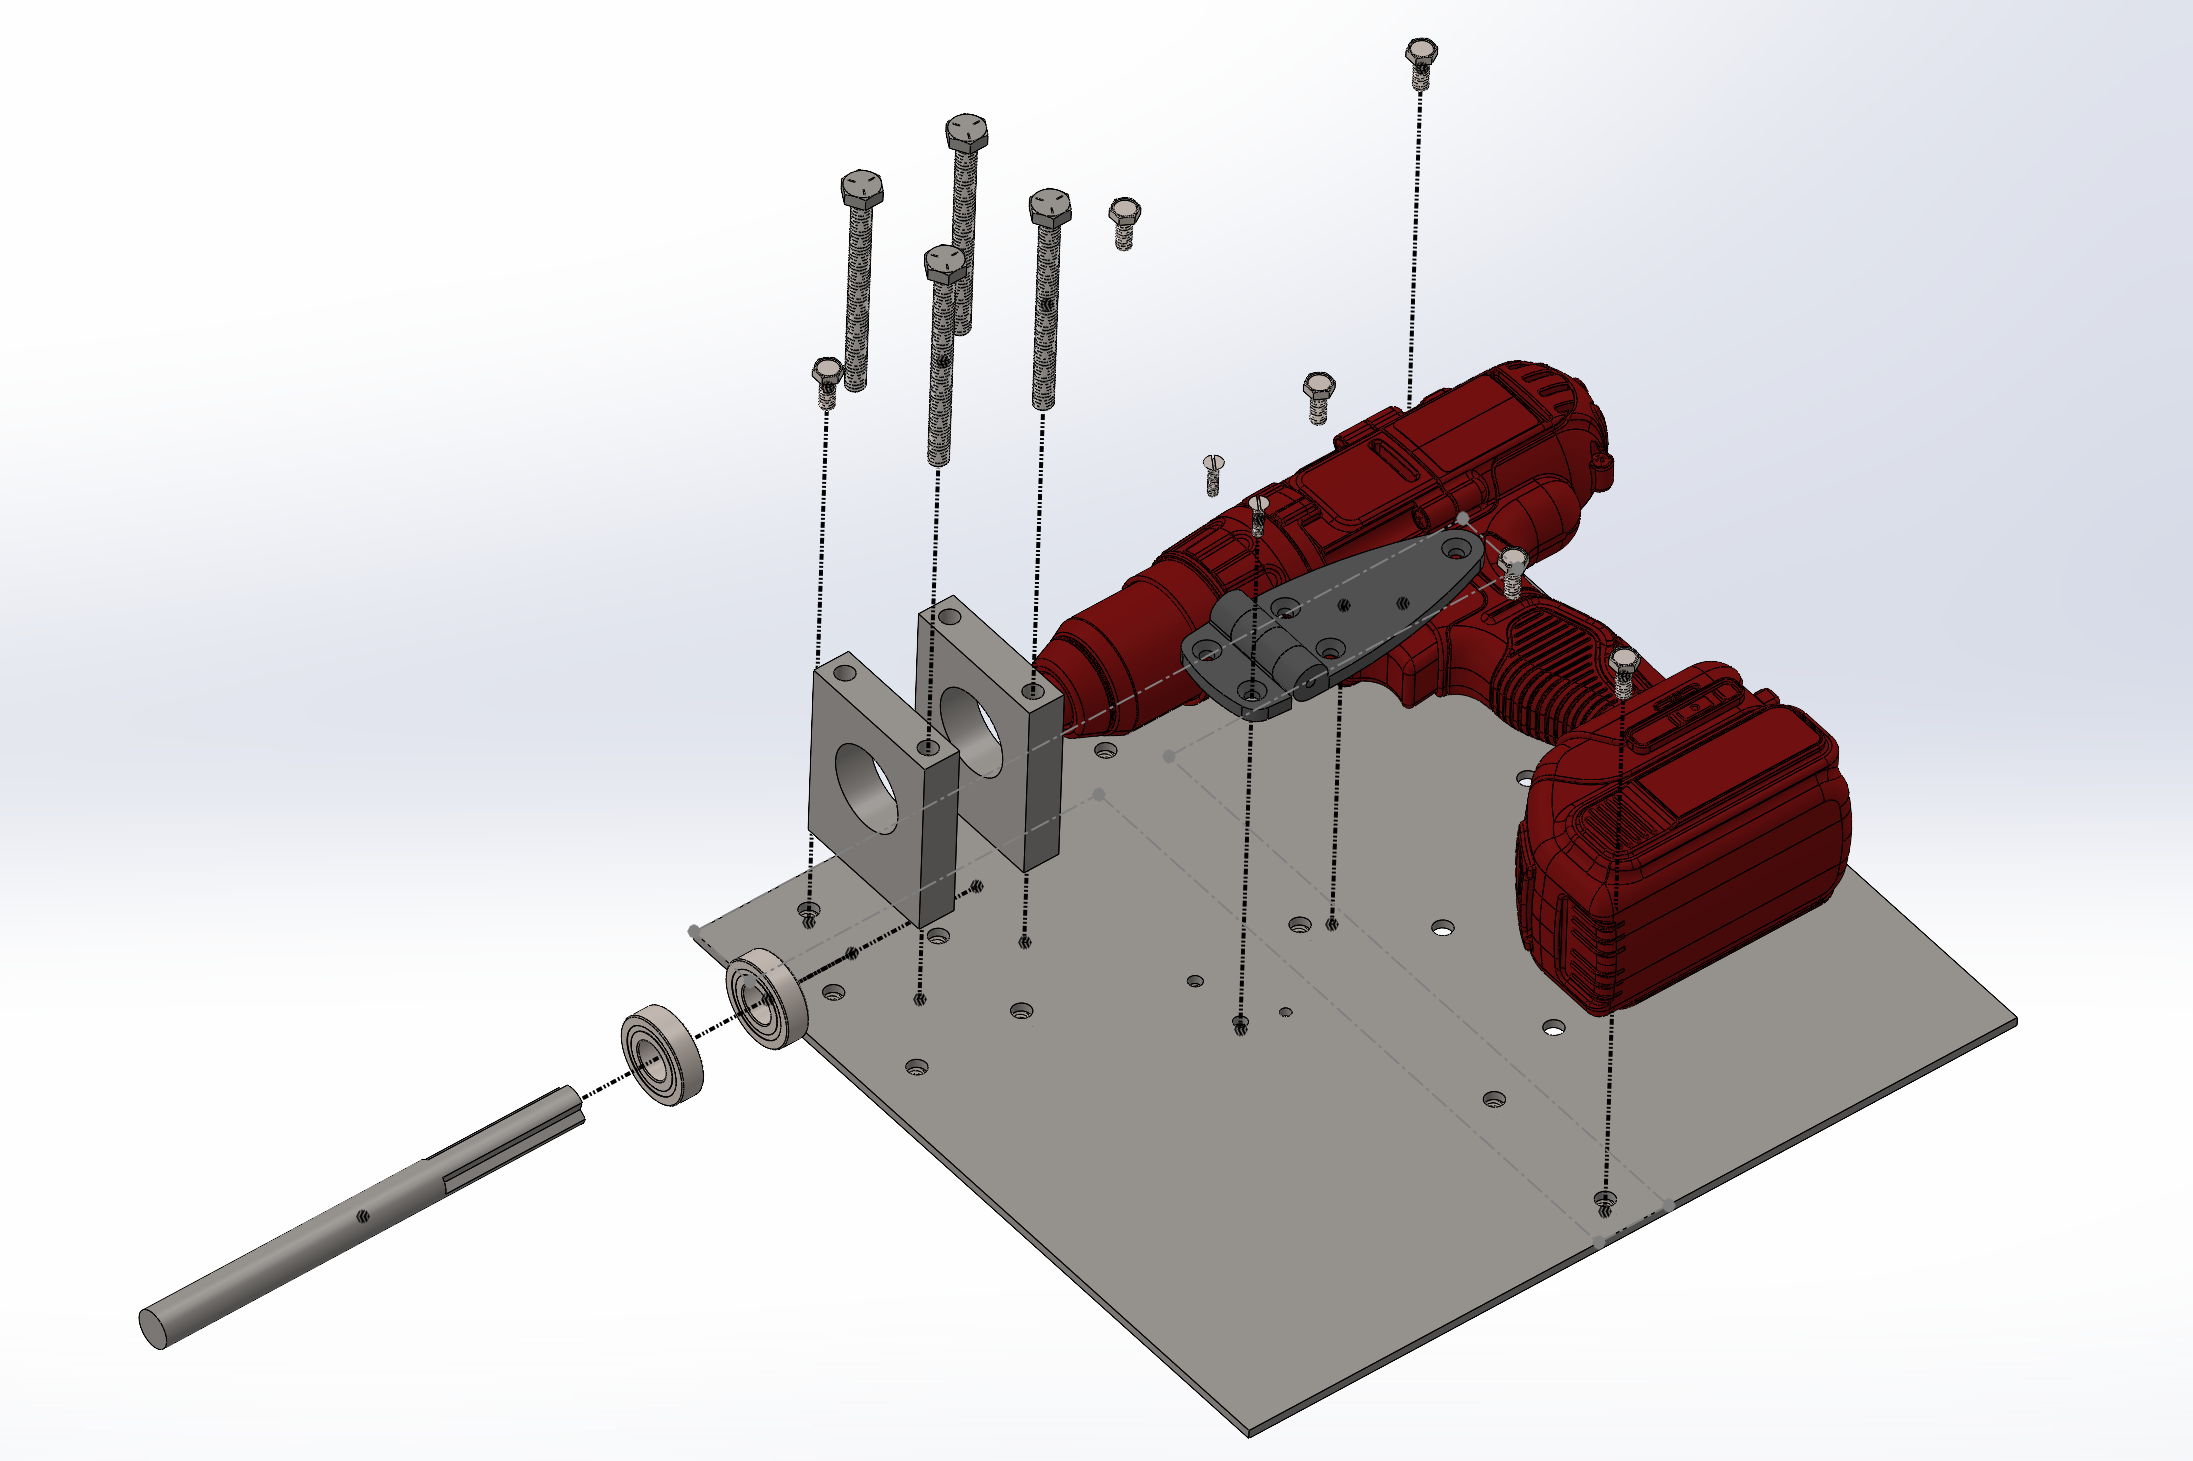
Drill Plate Aseembly
The business side of our bike design. Due to not finding a 100% accurate drill CAD file that matched our drill, we decided that we would attach the drill to the plate with hose clamps to allow for some variability with drill thickness and placement. Our drill would power our rear wheel by a milled quarter-inch shaft that would fit into the drill chuck. to prevent shaft deflection we added two pillow blocks with press-fit bearing to ensure the least amount of energy was wasted on friction. Our sprocket would be placed between the two pillow blocks and fixed to the shaft with two threaded pins and shallow cutouts in the shaft.
-
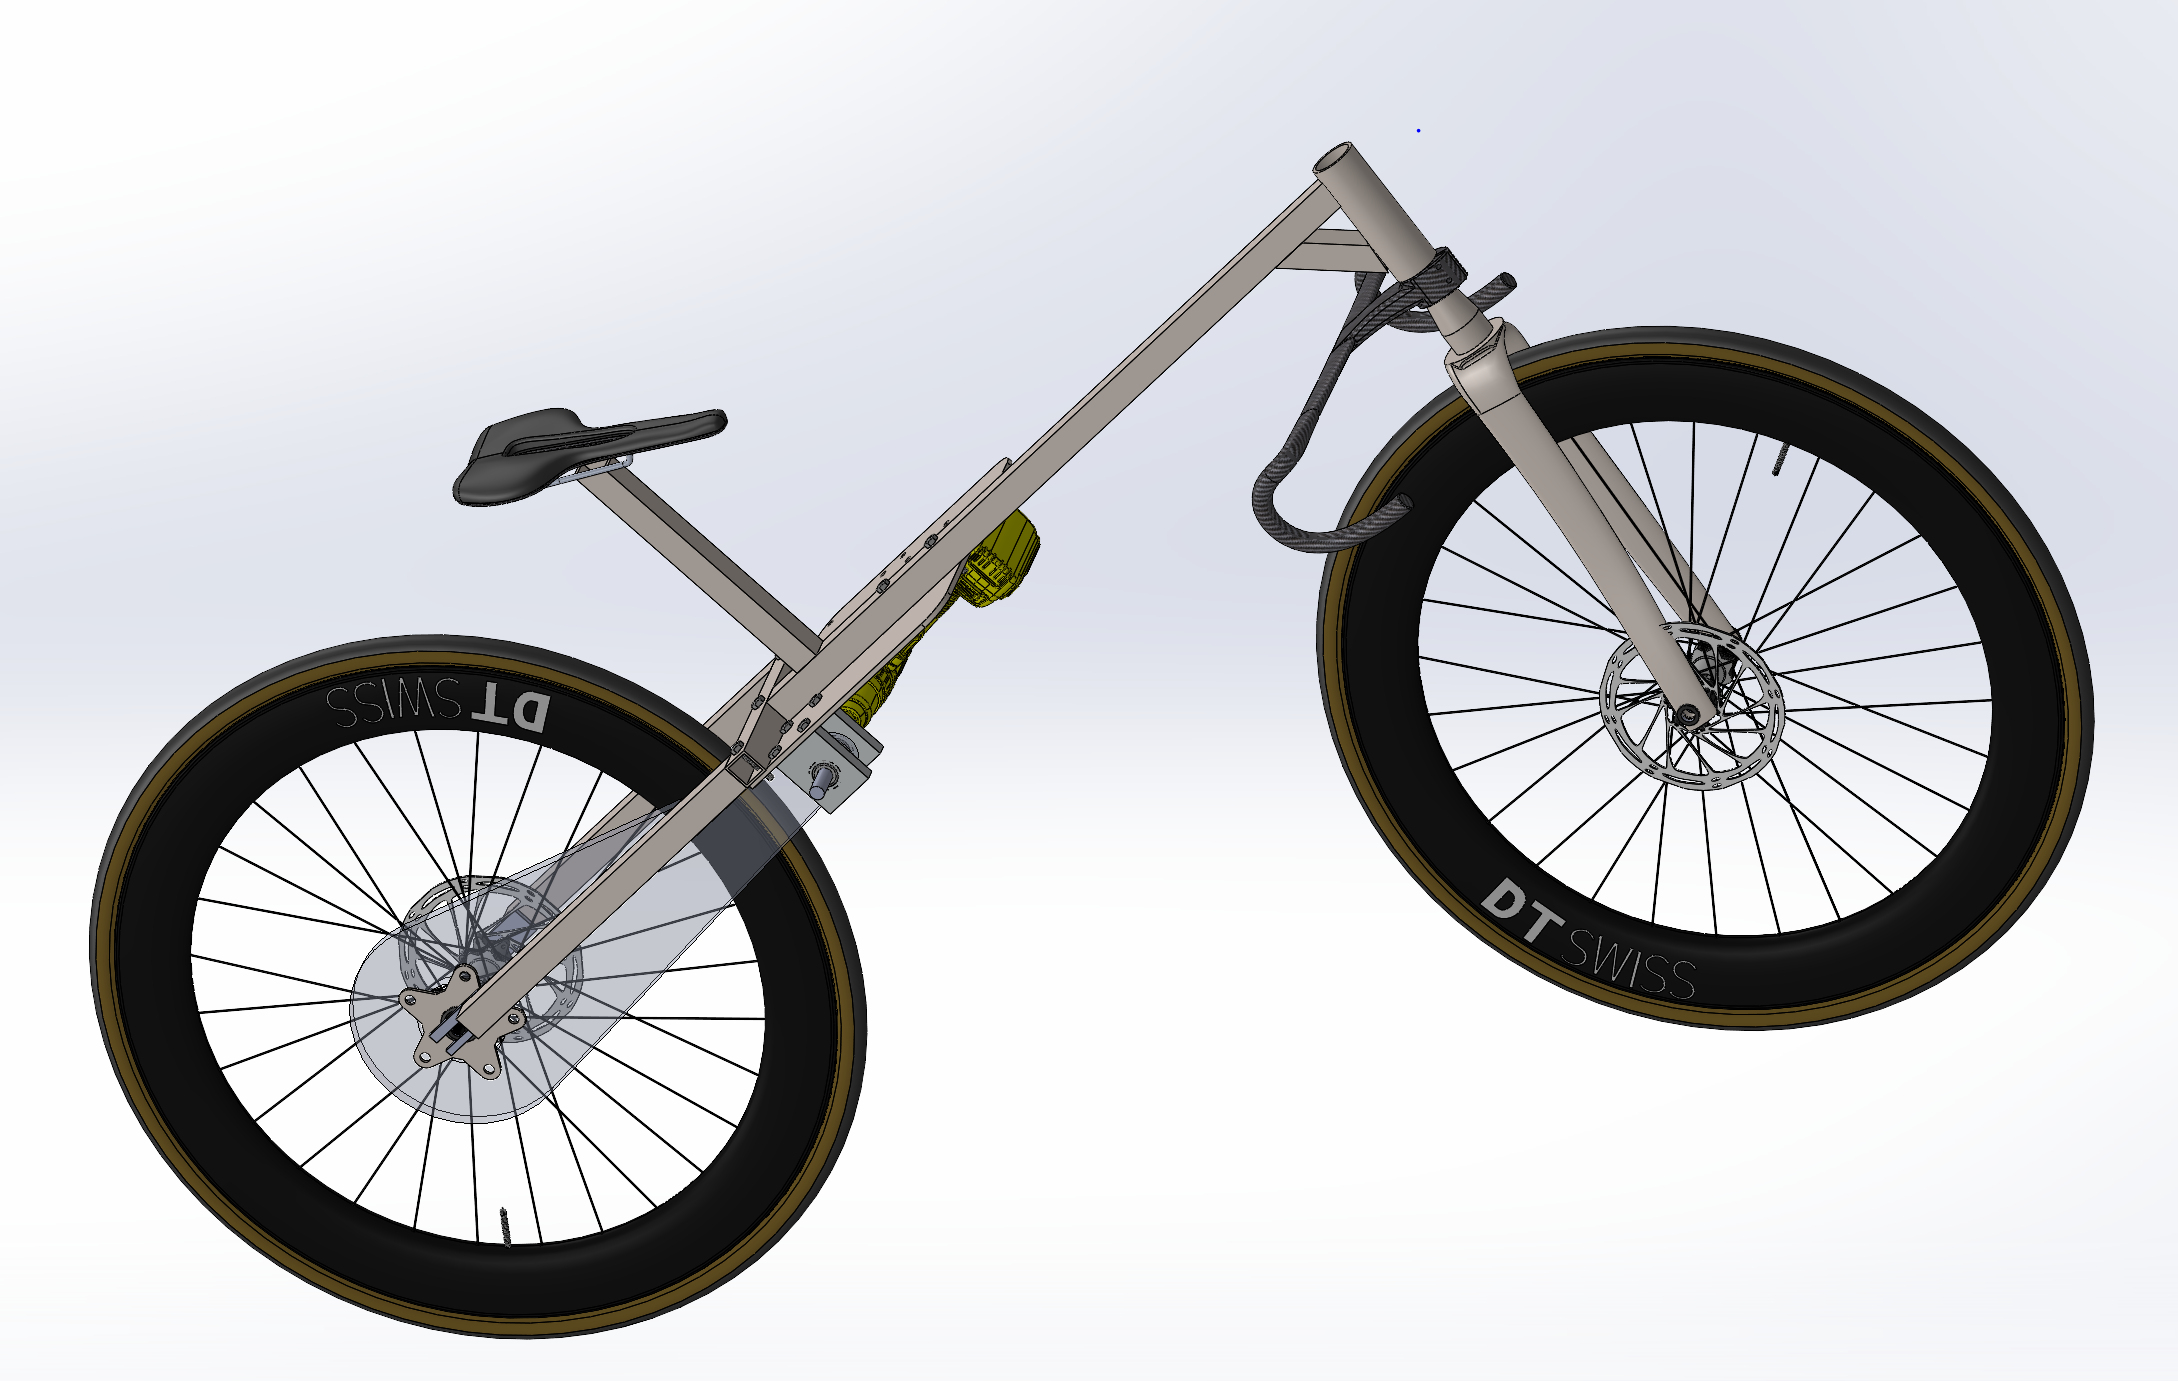
Final Bike Assembly
With the updated frame and drill plate assembly, our manufacturing would be very simple and keep the total bike weight comparable to an off-the-shelf option. Our 9 tooth sprocket would be coupled to a 46 tooth gear giving us a final drive of 5.1 allowing for an approximate top speed of 20 mph while still having good low-end torque. The drill plate and frame are secured by five .25-10 1.5 inch bolts ensuring the drill plate could hold the weight of the rider’s knees resting on it. The handlebars are in the reverse position to allow for more of the rider’s center of mass to be more centered. It also would prove to be more comfortable for the rider for the endurance challenge.
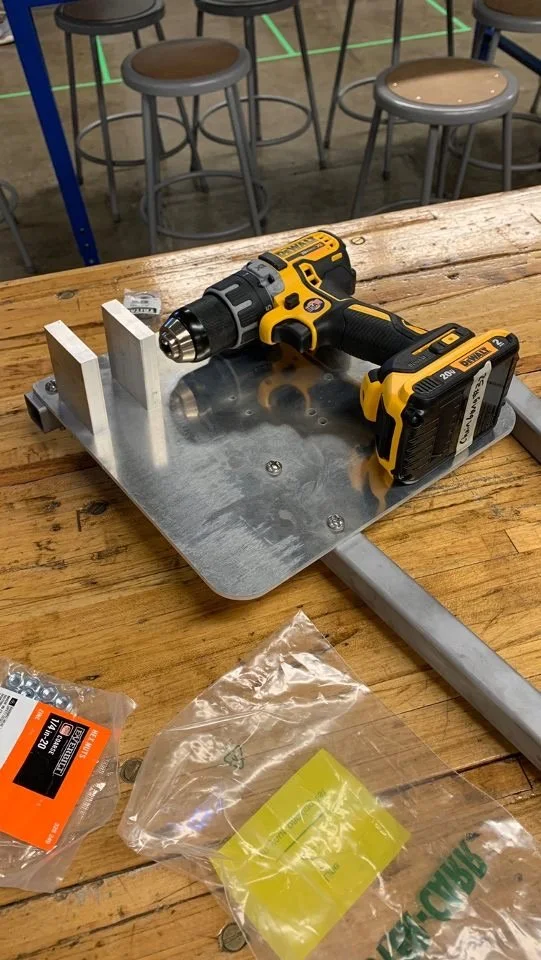
Drill placement testing before welding the frame together.
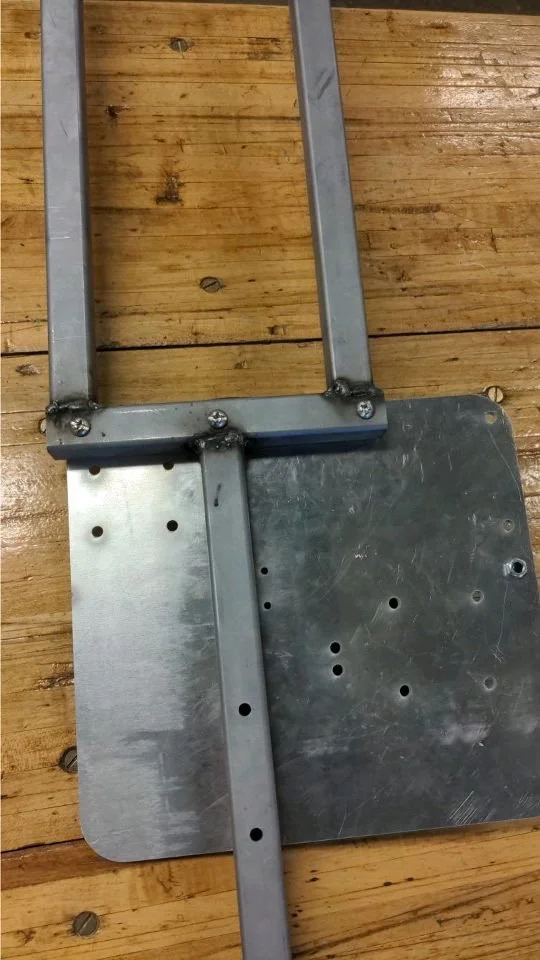
The first time mating the frame to the drill plate.
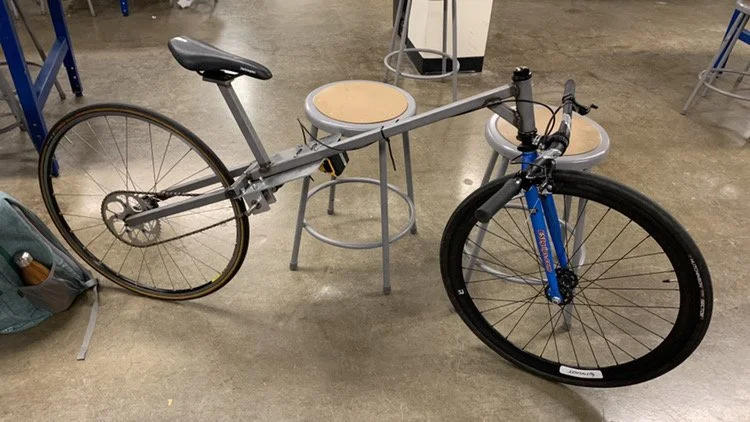
The full assembled bike prior to initial shake down testing.

The bike disassembled being painted themed as the Tron Bike
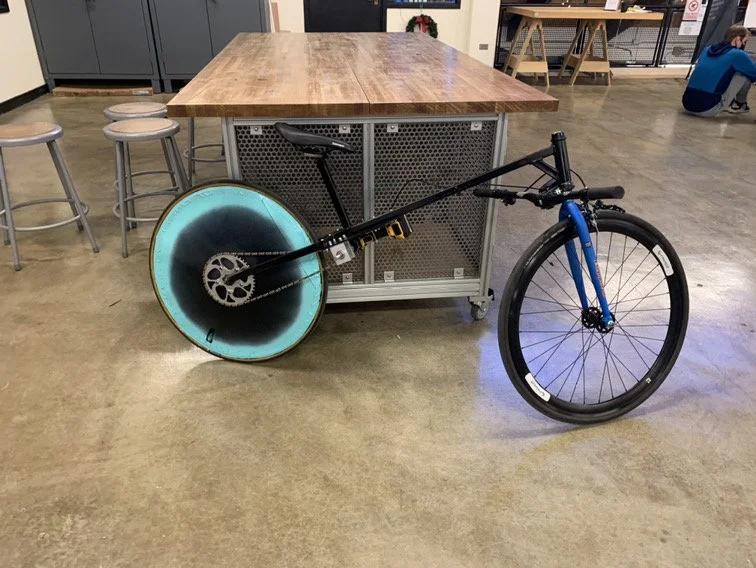
The final assembly of the bike after paint and getting ready for final adjustments and testing.
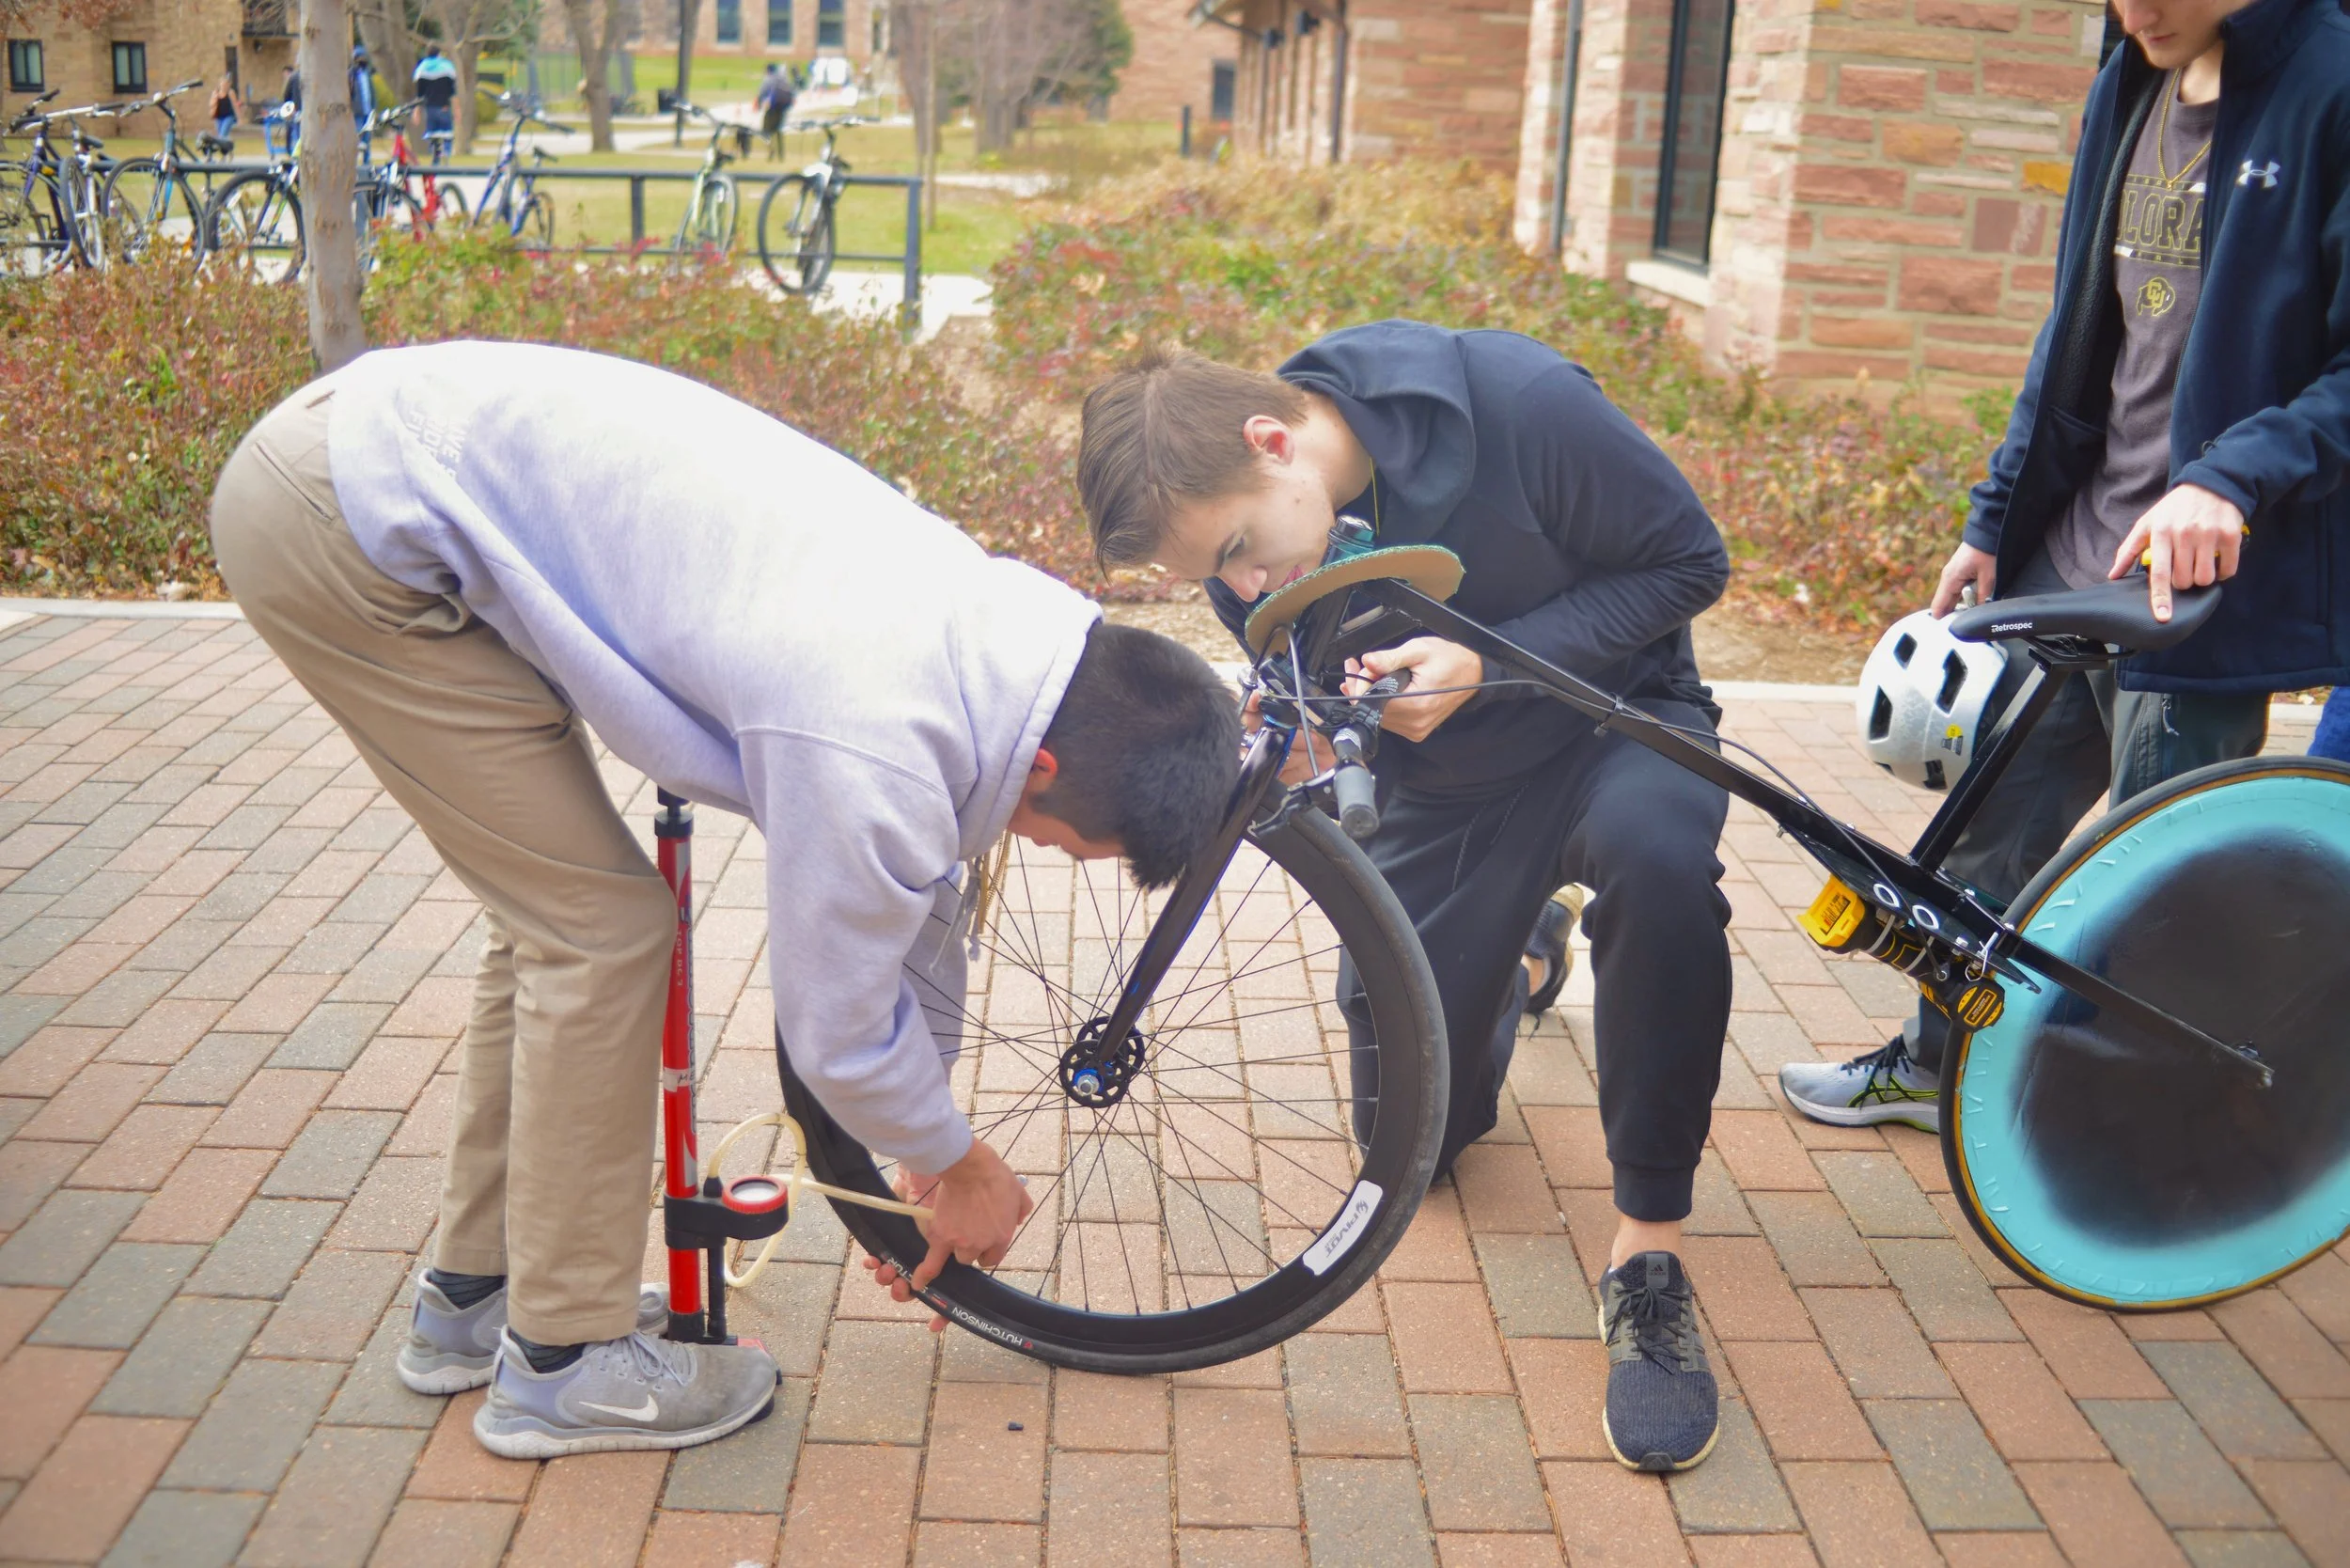
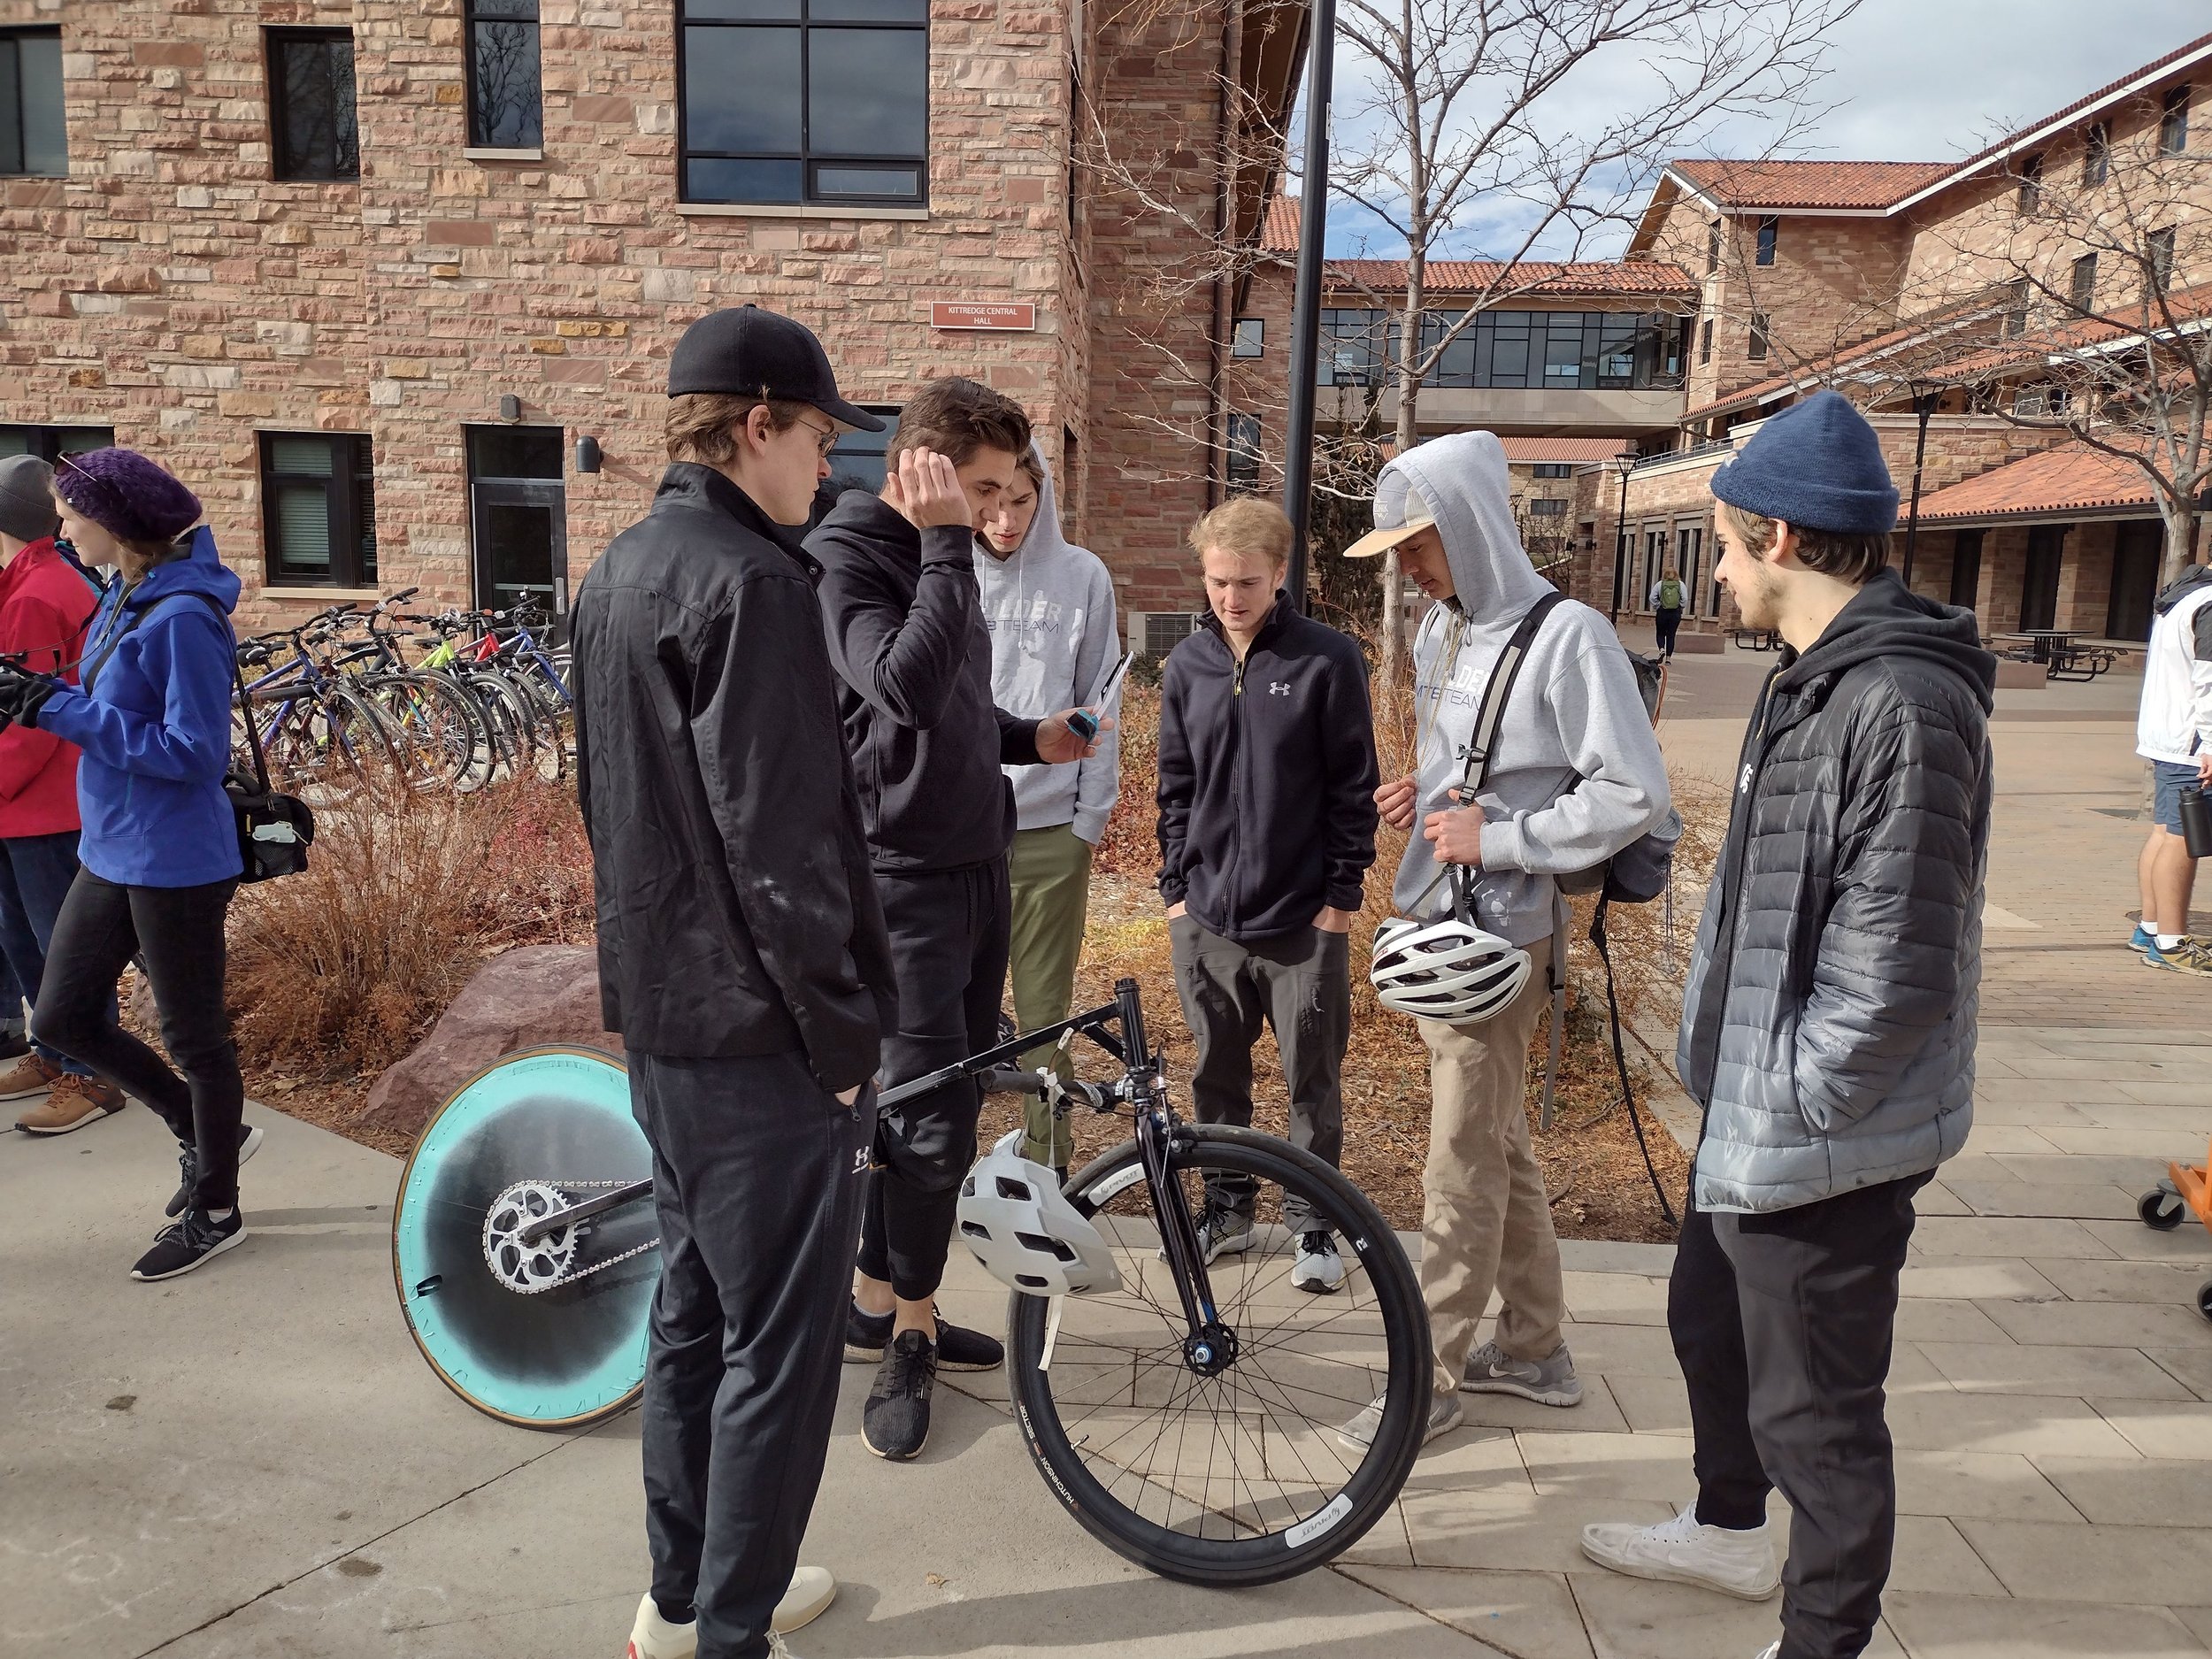
The team making final checks before competition.

The Tron Drill Bike in the endurance challenge.
The Tron Drill Bike being staged for the hill climb challenge.
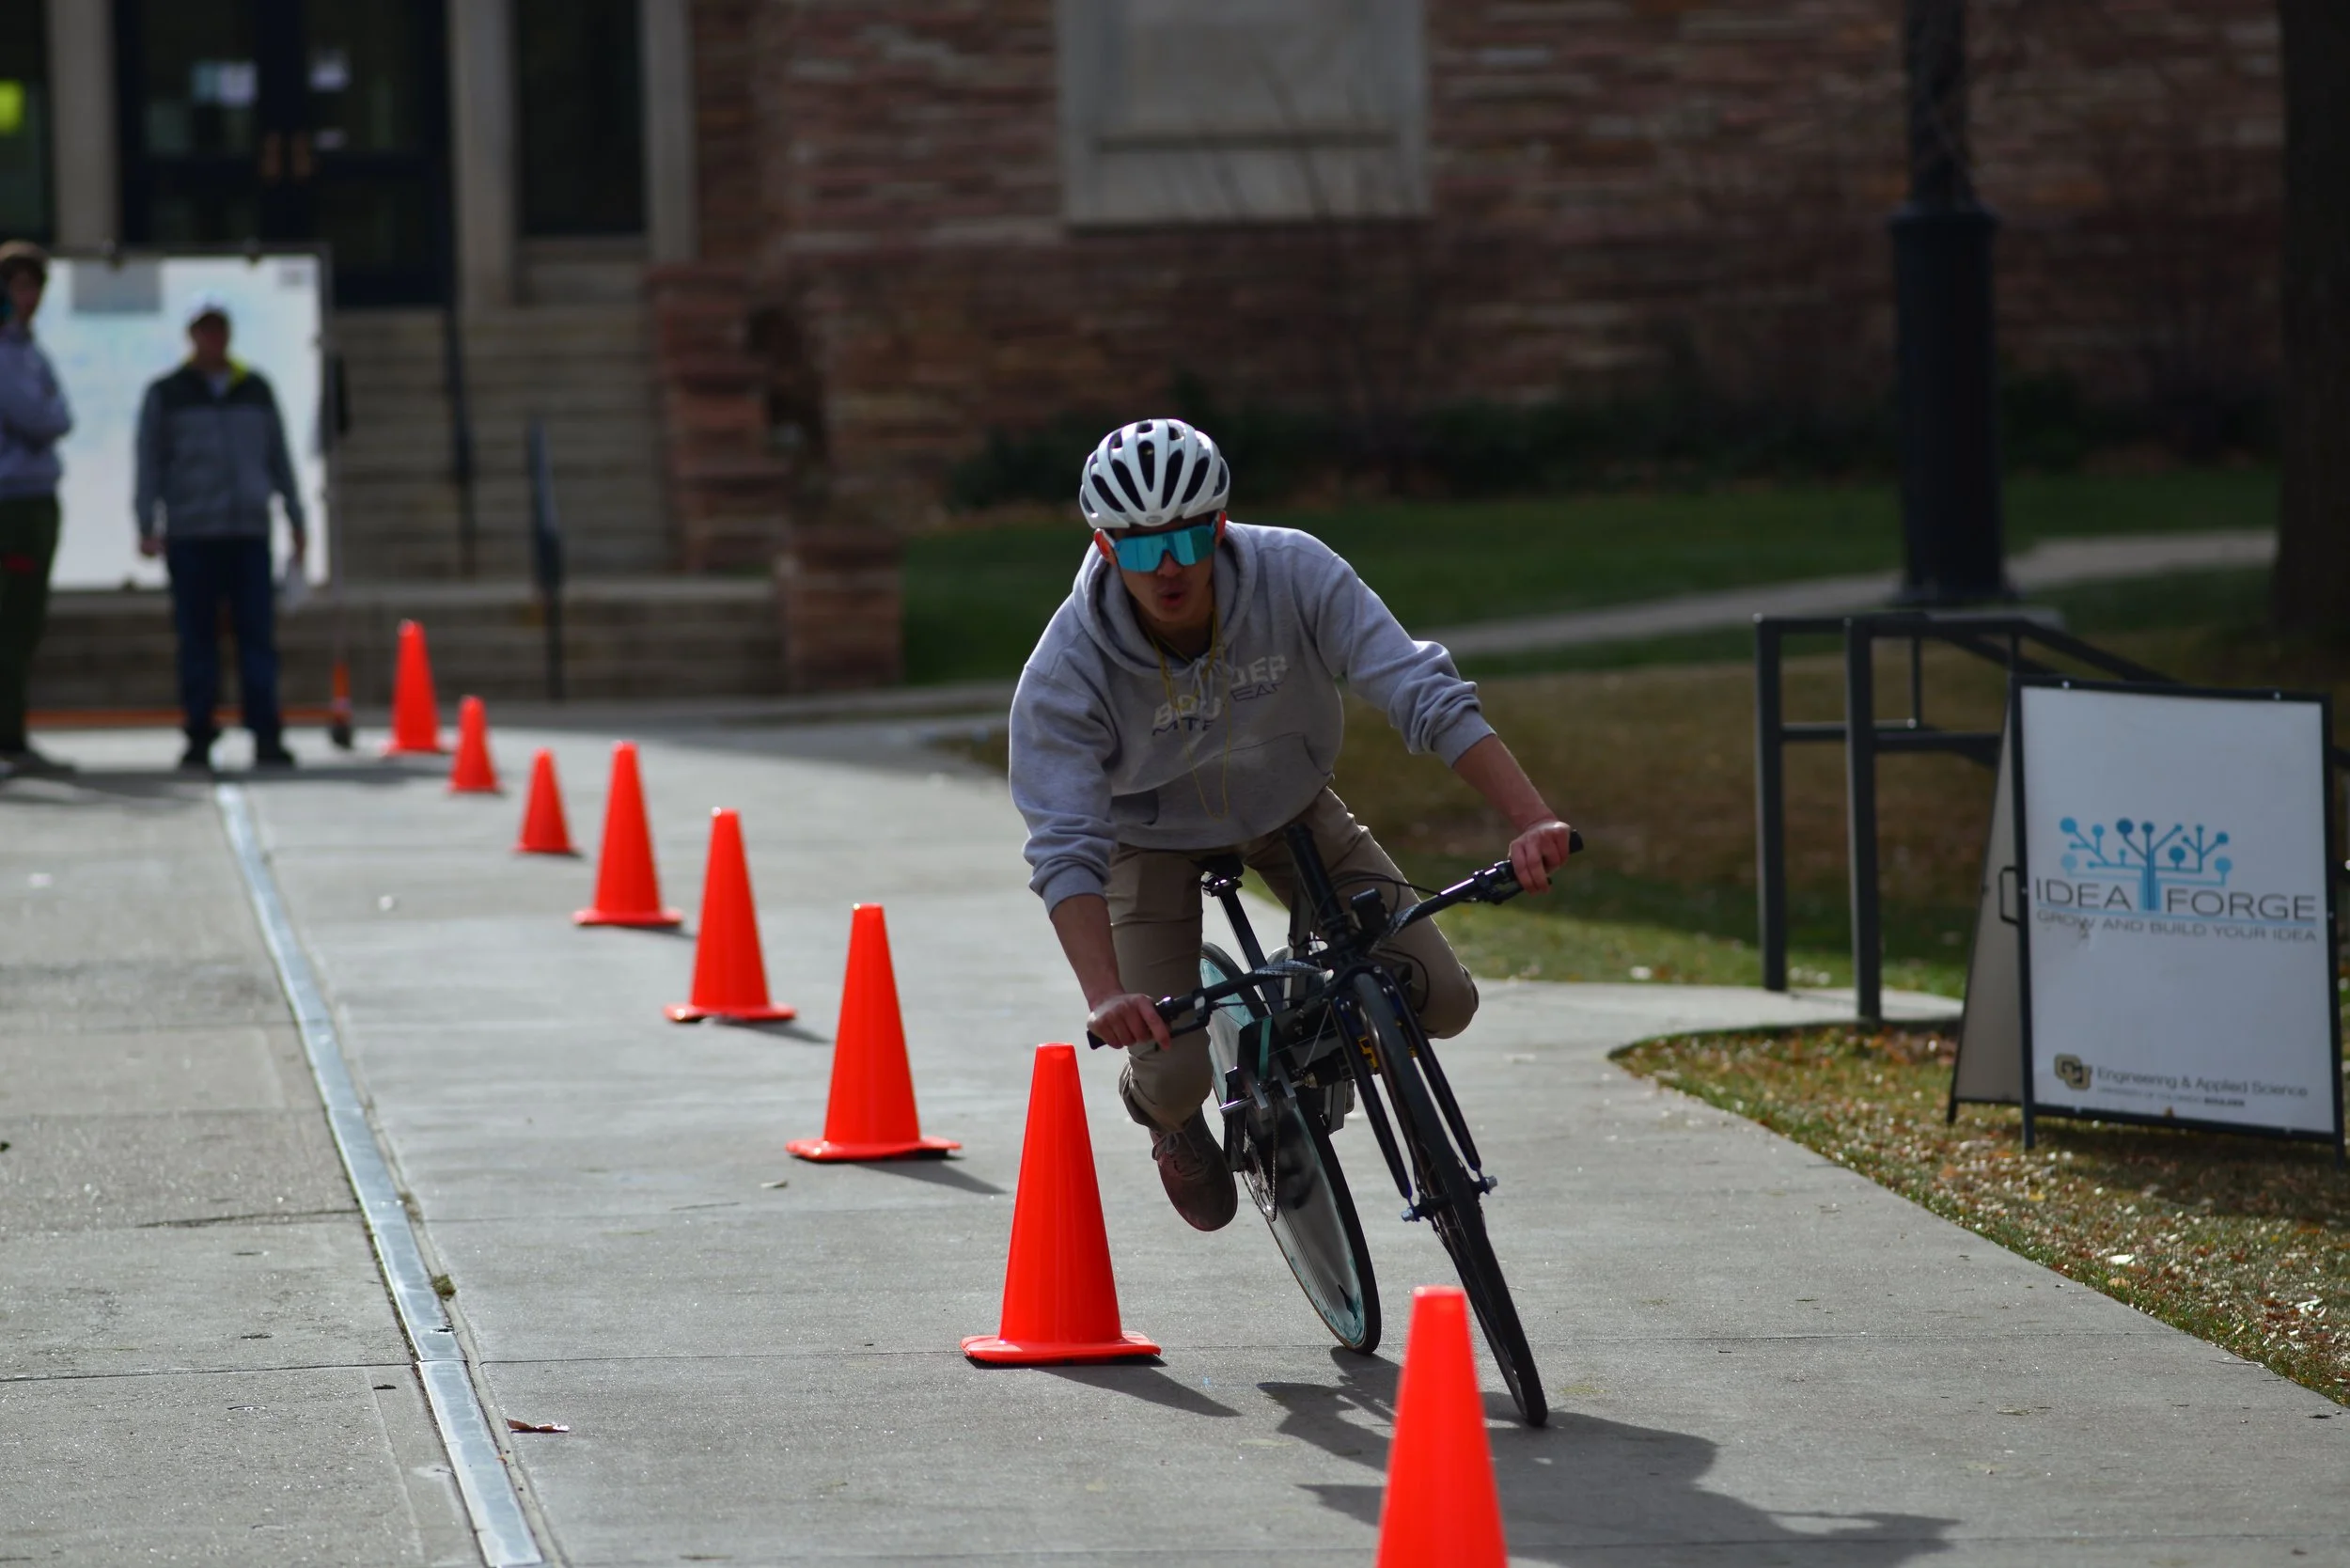
The Tron Drill Bike in the solanum in the maneuverability challenge.